How to Install a Mailbox - A Step by Step Guide
June 23, 2022
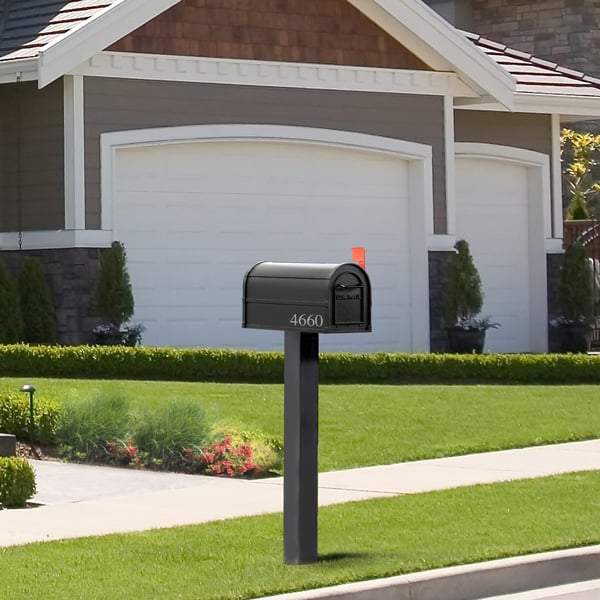
A mailbox is an essential part of your home’s identity, serving both as a decorative piece and as a safe depository for your packages, as well as personal and business correspondence.
Many homeowners, however, are unsure of how to install a residential style rural mailbox. They have the misconception that mailbox installation is complicated and time-consuming. In reality, this is a simple task that most anyone can complete, using basic power tools and materials.
Before starting the mailbox installation process, make sure to review USPS mailbox height guidelines.
In this blog, we’ll show you how to install a standard post-mounted mailbox that will add curb appeal to your home.
This article is a step-by-step guide to install a residential mailbox. If you’re looking for instruction on how to install a commercial mailbox, please click here.
If you would like to view and print this guide as a PDF please click here.
How to Install a Post-Mount Mailbox
Step 1: Gather your tools.
Make sure you have every item readily available before you begin the mailbox installation process:
- Measuring tape
- Standard level
- Post pole digger
- Shovel
- A 50-pound bag of fast setting concrete mix
Step 2: Dig a post hole
According to the USPS, your mailbox can’t be taller than 45 inches above street level. Accounting for the street curb, a standard post-mount mailbox should be 42 inches high above the ground.
Use a measuring tape to identify a spot on your front lawn, six to eight inches away from the curb, and dig a hole deep enough so that your mailbox is the standard height. The hole shouldn’t be deeper than 24 inches.
Step 3: Place the mailbox post.
The Federal Highway Administration recommends choosing a mailbox support that is stable but can fall down if hit by a car. A 3.5" Wide by 60" High Salsbury Standard Mailbox Post or a 4" Wide by 81" High Salsbury Decorative Mailbox Post are all good options. Stay away from potentially dangerous supports like heavy metal pipes or concrete posts. Here is an easy checklist to follow:
- Start by inserting the mailbox post into the hole.
- Then, use support beams to prop the post up, but make sure they don’t shift when it’s time to pour the concrete.
- Use your measuring tape again, to ensure you are abiding by the “42 inches above the ground” rule.
- Make sure your mailbox post is straight by using a level.
Step 4: Pour the concrete and allow it to set.
To prepare your concrete, follow the instructions on the back of the bag. Pour the mixture into the hole, but don’t fill it all the way. You want to leave a couple of inches between the concrete and the ground. Use the level to double-check that the mailbox is still straight. You can still adjust it before the concrete begins to dry. Don’t take the support beams out until the concrete is completely set (the time might vary depending on which brand you are using).
Step 5: Attach the mailbox and add your street numbers.
Attaching the mailbox should be fairly easy to do by following Salsbury Industries instructions for the specific mailbox ordered. Your street address or house number should go on the side or front of the mailbox, and any numbers should be at least one inch above the base of the mailbox. In the case that your mailbox is on a different street than your home, USPS requires you to use your full street address.
Now that you know how to install a mailbox, check out our wide selection of residential mailboxes and find one that best fits your needs and home architecture.